Hello friends, I'm glad you've stopped by! I'd like to share the second card I made for the Tim Holtz 'Facebook Live' event on Friday. If you missed the event, you can still go to
Tim's Facebook page to view a replay. Seriously, tons of GREAT inspiration over there! I have a full tutorial on this card and you won't believe how easy it is!
I was originally going to write both card tutorials in one post, but if you have seen my previous post it is very lengthy. I'll walk you through how I put together this easy heat embossed watercolor card.
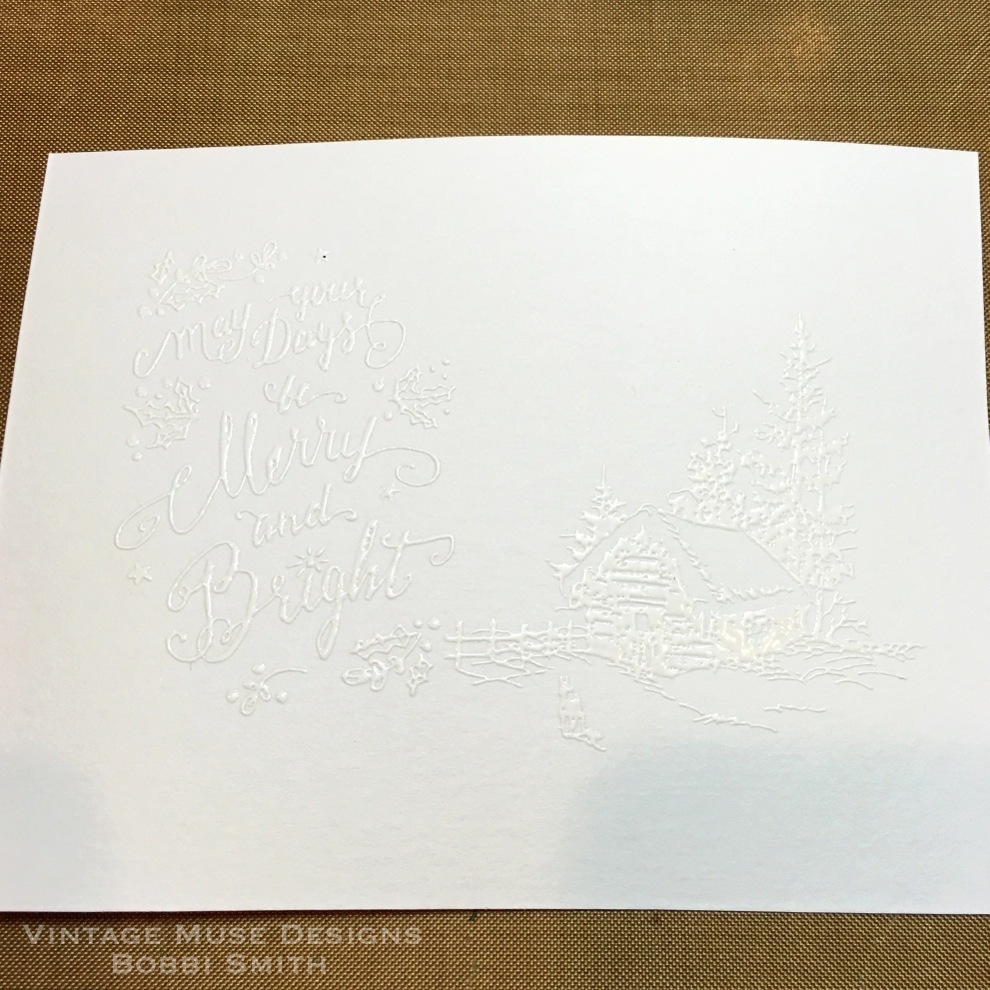
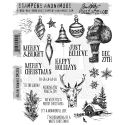
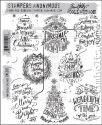
To start with, I took a sheet of Distress Watercolor Cardstock (smooth side) and stamped the Christmas greeting and cabin image using Distress Embossing Ink. They're from the New Stampers Anonymous Tim Holtz Holiday Drawings CMS284 and Mini Doodle Greetings CMS287 stamp sets. Both sets are so versatile, I have lots of project ideas rolling around in my head! :)
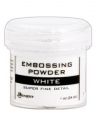
I immediately covered the stamped images with white embossing powder, then gently shook off excess and heat embossed using a heat tool.
You can barely see the white heat embossing on the white watercolor cardstock, but it's there and ready for color.
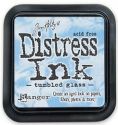
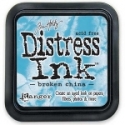
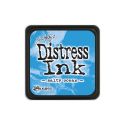
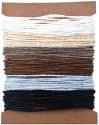
I used three shades of blue Distress Inks -Tumbled Glass, Broken China and Salty Ocean. I swiped a little of each color onto my non stick craft sheet.
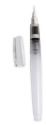
I wet a large area of the watercolor cardstock with water using the water brush, then picked up a little of the lightest shade of blue (Tumbled Glass) from the non stick craft sheet. When the color hits the water it will naturally wick out. I moved the color around with the water brush, until I was happy with the level of Distress Tumbled Glass wash. Then I dried with the heat tool. Be very careful drying with a heat tool. The white embossed image will disappear if overheated, the plastic embossing will literally fuse to the fibers in the paper and disappear. I used Rangers Heat It Tool, it defuses a gentle heat that is much more forgiving than regular heat embossing tools.
This is my first layer of color.
Next I went in with more water and color, but in much smaller areas. Then dried with my heat tool.
I continued layering water/color and drying between each layer. Usually when watercoloring you want to continue to work color while the surface is wet for better blends, but I wanted bursts of isolated color. That's why I dried between each layer, to create this fun effect.
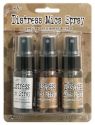
Once I was happy with my watercolor layers, I wanted to create all over shimmer. I thought the cool undertones of the icy blues mixed with the sparkle of the Distress Brushed Pewter Mica Spray was a perfect combo. I only used two pumps to cover my card front and dried with the heat tool. If you use a heavy application of the Distress Mica Spray you will cover your image, a little goes a long way.
I wish I was able to get a better photo of the sparkle and shimmer…it's lovely, this photo does not do it justice.
If you find that you've covered a little too much of your embossed image (and yes I did), you can carefully buff off the mica spray by misting a towel with just a small amount of water. Just remember the surface is still water reactive, so try to only touch the heat embossed portions with the damp towel. Now if you are wondering why I didn't do my watercolor and mica spray initially before I heat embossed, well I did with my first go around. I found that I lost much of the stamped details with my heat embossed image. Even after I used a static embossing puff, before stamping and embossing…so this is what worked for me and I hope it works for you too!
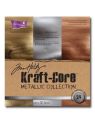
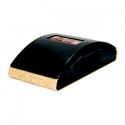
I cut a piece of silver Kraft-Core 4 1/8 x 5 1/4. Making sure to protect my non stick craft mat with a scratch piece of paper, I sanded only in an up-and-down motion on the metallic Kraft-Core with a sanding grip for a fun patina look.
Then I shaded the edges with Walnut Stain Distress Ink and a blending tool with foam. Then distressed the edges of the metallic Kraft-Core with a bone folder.
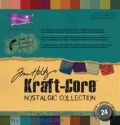
I also cut a piece of brown #21 Kraft-Core 5 1/2 x 8 1/2, then sanded a little to expose kraft and folded in half for card base.
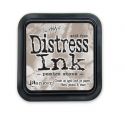
I trimmed down my card front to fit the metallic cardstock and card base layers. Then I shaded the edges with Pumice Stone Distress Ink and a blending tool with foam. Then did some distressing the edges of the watercolor cardstock with the bone folder.
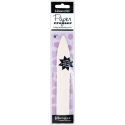
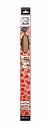
I cut some white Distress Paper String and gave it a few sprays of Distress Mica Spray, to give it a little shimmer and distress. Then dried with a heat tool.
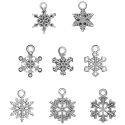
I didn't have much space for a ribbon, but the paper string is so thin it works just about anywhere! I attached the paper string and a snowflake Idea-ology charm to the card front.
Then finished assembling the card.
I hope you'll give it a try! You can find the supplies I've used via the links below. If you have any questions please let me know I love your comments, I truly appreciate each and everyone of them! As always thanks for stopping by and I'll see you next time! xx


This is gorgeous Bobbi!
ReplyDeleteFabulous watercolour effects over the white embossing, love the finished look xxx
ReplyDeletelove this one - Simple is good!! Easy to make multiples for Christmas.
ReplyDelete